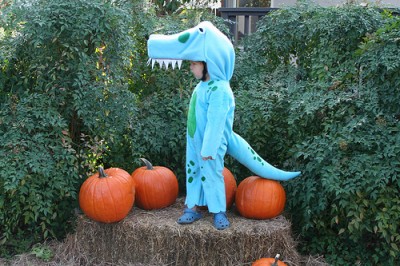
You sort of get what you deserve when you ask a 2 1/2 year old what they want to be for Halloween. In my case, Wesley said “Tyrannosaurus”. Good. I was afraid he’d say something easy like a ghost. How do you make a T-Rex costume? Well, here is how I did it.
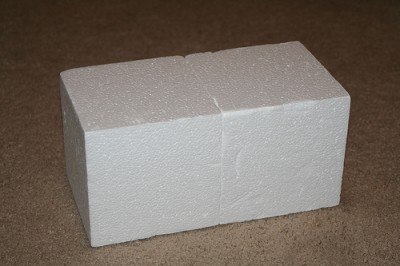
We started with the body which Amber found at the thrift store. It wouldn’t be hard to sew one yourself if 1) you knew how to sew and 2) you owned a sewing machine. Neither of these apply to me. From there we glued two blocks of Styrofoam together to make the snout. Something I hadn’t considered is that the propellant in the spray glue would dissolve the Styrofoam. As you’ll see later everything is covered in tape so I could apply more spray glue and to ensure the two blocks would not pull apart.
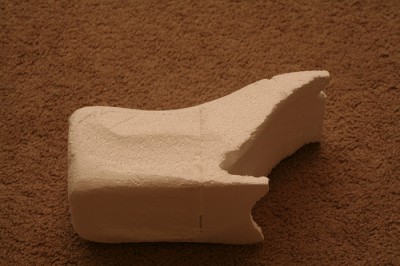
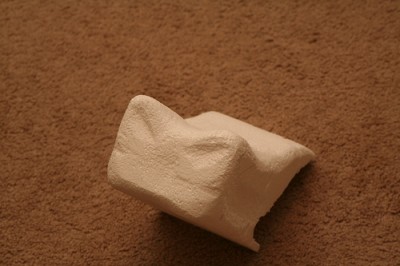
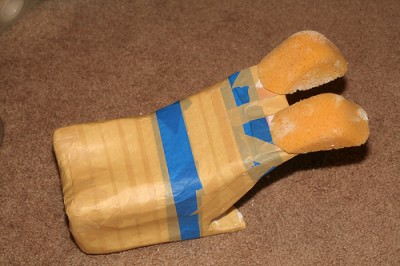
Once the blocks were together I began the process of cutting and sanding them to the shape I wanted. I was just making the top jaw to which I would attach the teeth and eyes. I decided the best thing to do was mount this to his bike helmet which would form the rest of head and give us a nice secure way to put it on him. I cut a docking point for the helmet as well.
I had originally planned to make the eyes out of Styrofoam as well. But the glue melted my eyes to the point where they were not usable. So, out came a big old sponge (which we actually used as a form for the spider costume from last year). I attached it with staples and tape. Then the whole thing got covered with tape to protect the Styrofoam from the glue I’d used to attach the fabric.
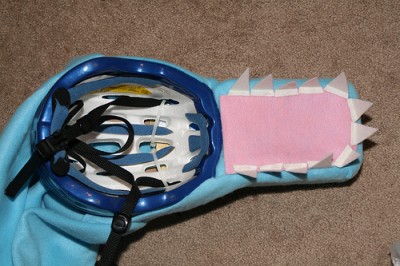
Once it was all taped up I attached the helmet using a couple of nylon ties. It needed to be strong, but not hurt the helmet which will go back to its usual job of preventing brain damage this weekend. I covered the snout with spray glue a small area at a time and applied the fabric, stretching and pushing it into the grooves I had carved.
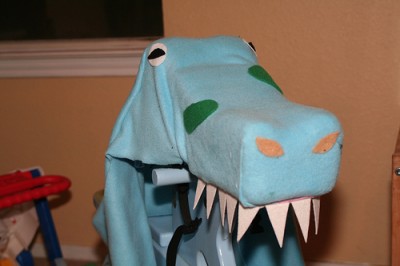
We added some pink felt for the mouth (Wesley calls it the tongue) and used stiff felt for teeth. The felt is best attached with hot-glue. We trimmed up the fabric, leaving it long in the back so that it could be tucked into his costume and act as the dinosaurs neck. We added a few green spots to match his body, glued on some eyes and nostrils and it was ready to go.
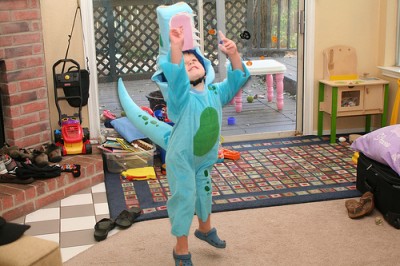
The costume was a great success. Wesley loved it and told me thank you several times for making it. He loved “eating” things with his T-Rex teeth. I’m glad they were soft and flexible. By the end of the night they were all pushed out at different angle and I was calling him snaggletooth-rex.
Tags: Costume, halloween, T-Rex, Tyrannosaurus Rex, Wesley

You guys are SO creative! Thanks for sharing!!
I can’t believe you made that!?! I’m impressed!
Great job! I love it!
[...] Strike that. Reverse it. « The Making of a Tyrannosaurus Rex Costume [...]