Last week we went to The Padilla Bay Interpretive Center – it is a wonderful place for children to learn through play. The center has 3 rooms to learn all about estuaries and the animals that live there. In the main exhibit hall there are lots photographs, maps and animals that explains estuary science and stewardship. The aquarium room is newly remodeled and has 1 large and 3 small tanks to observe the estuary animals. And it has an exceptional hands on room. The room is full games, puzzles, puppets and books for learners of all ages.
What is an estuary? It is where rivers meet the sea. Here is a bit more from the center’s website: Padilla Bay is an estuary (a partly enclosed coastal body of water with one or more rivers or streams flowing into it, and with a free connection to the open sea) at the saltwater edge of the large delta of the Skagit River in the Salish Sea. It is about eight miles long (north to south) and three miles across. In 1980, this bay was selected to be included in the National Estuarine Research Reserve System.
Here is a wonderful interactive poster from the center’s website that shows the many different animals who live in an estuary.
The Hands on Room
The room looks so fun and inviting to children.
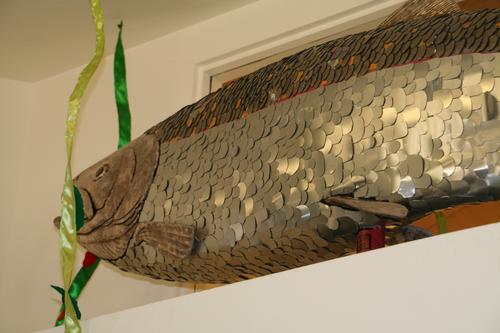
The Giant Metal Salmon
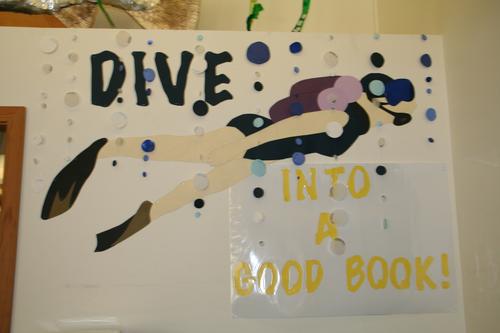
This is in the book area
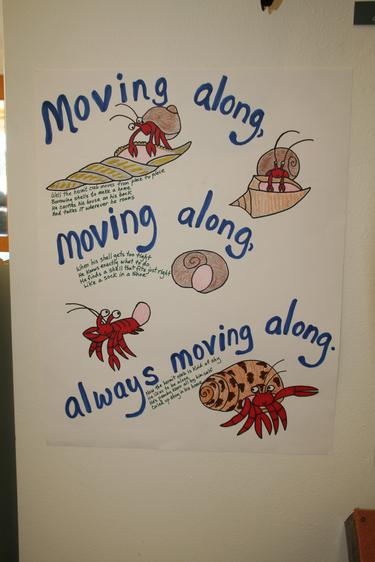
Cool posters all over
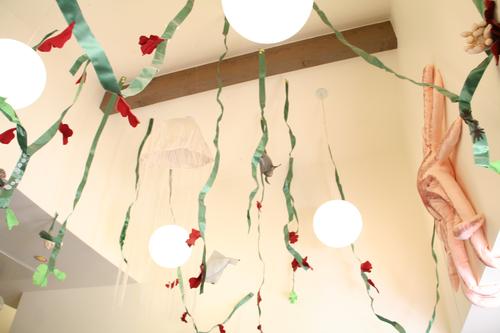
They even made the ceiling great to look at.
So many things to keep their hands and minds busy.
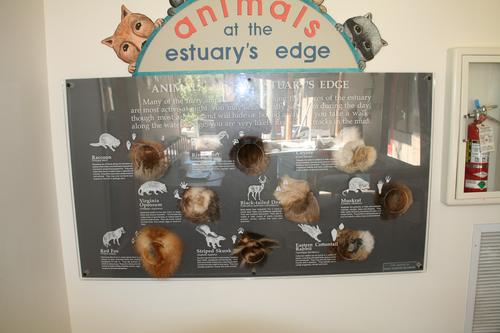
To feel the softness of the fur.
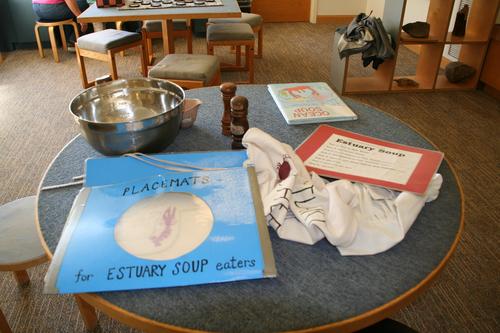
Recipe for making estuary soup
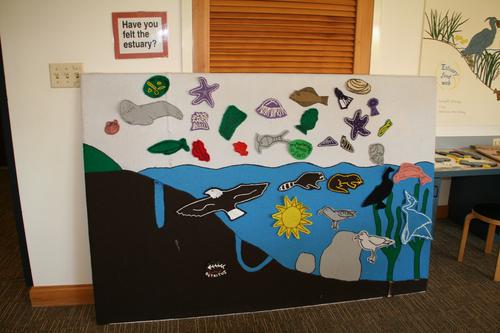
A felt board wall - we currently have it mixed up.
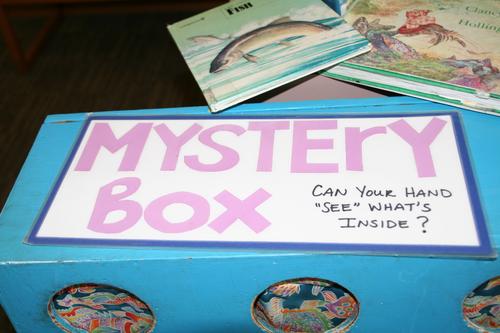
I loved this box!
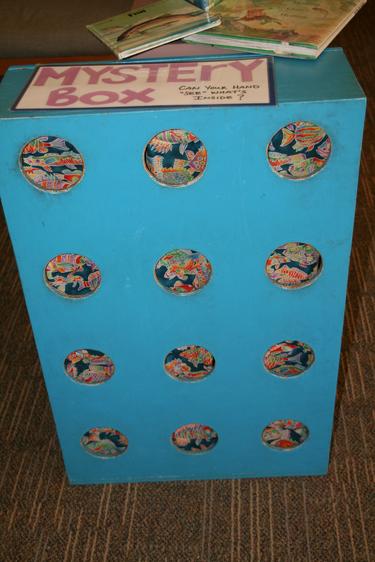
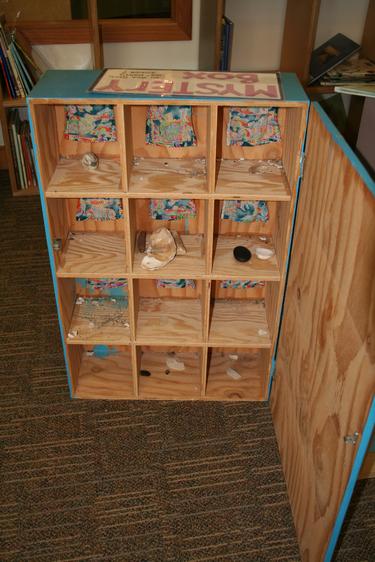
How they put stuff in
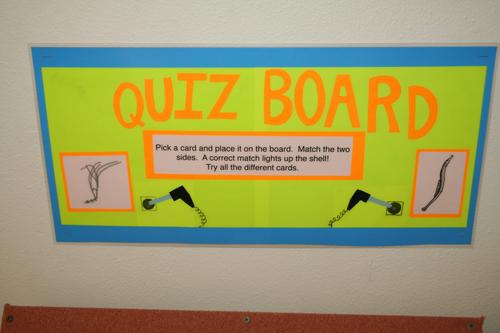
How to use the quiz board
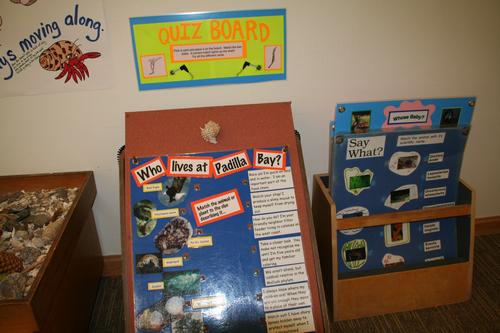
There were at least a dozen different quizzes to take.
Then there was the game section. We could have spent hours playing all the games! These are just some of them.
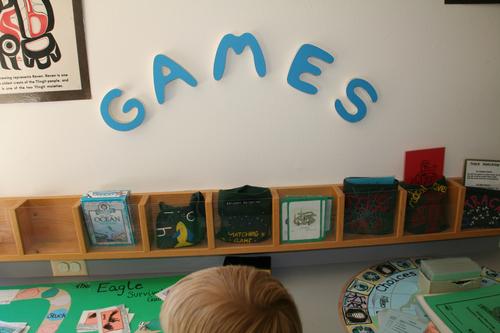
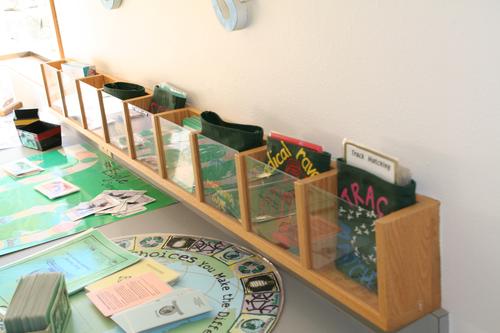
I loved the storage for the games.
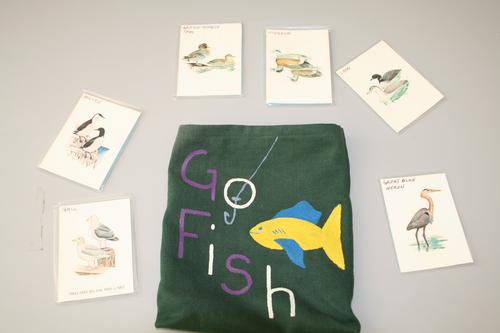
Go Fish - or it should be Go Bird
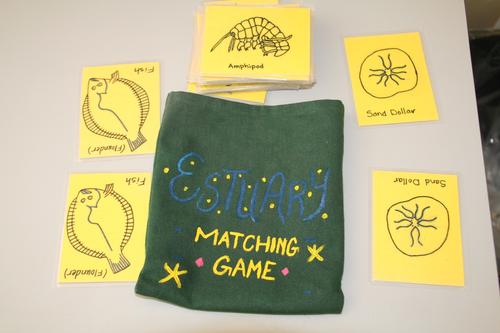
Memory Game
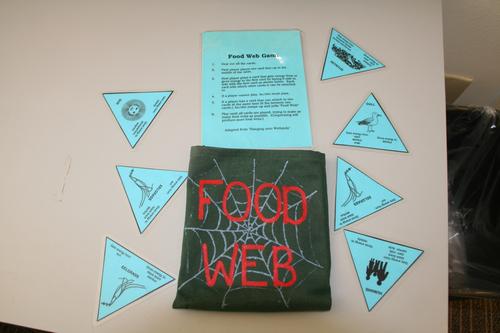
Food Web Game
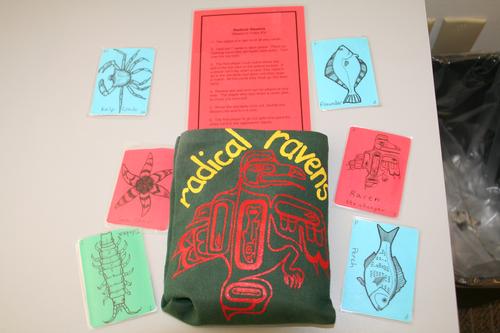
Radical Ravens
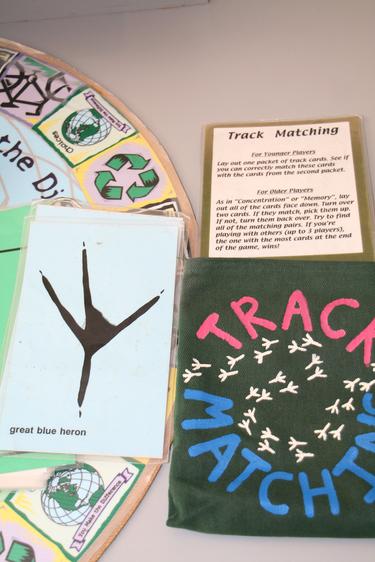
Track Matching
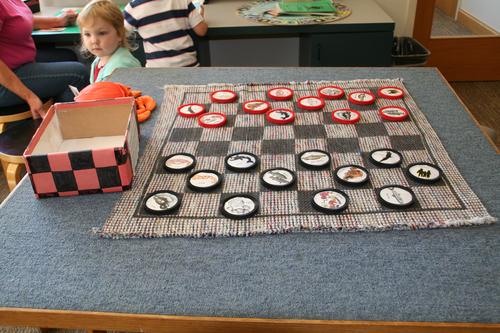
Checkers
Both Jillian and Wesley had a great time. But Jillian (who is 3) was not able to get as much out of everything as Wesley (4 1/2).
I hope we get to go back again soon. This time with Joshua. He really wants to go with the kids. ![]()
Tags: Estuary, Games, Hands on, Padilla Bay, washington
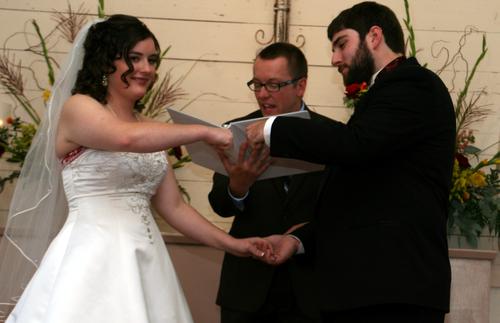
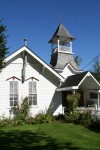
Corey and Willow got married! Finally! We are so excited to officially welcome Willow to the family. The bride, ceremony, weather and chapel were all beautiful. The whole event was a really cool, quirky mix of lace and zombies. Everyone had lots of fun. There are a few photos below and you can see the rest (250+) on Flickr.
Today was Wesley ‘s first day of preschool. He picked out his own outfit the night before and was so excited to get dressed this morning.
We took a few pictures before we left.
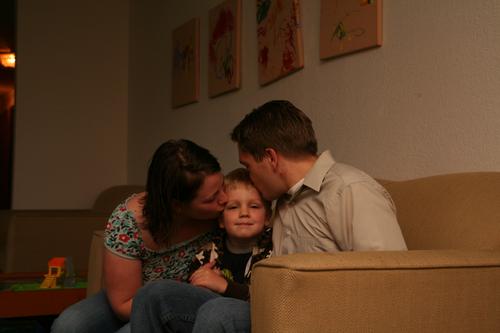
2 Kisses
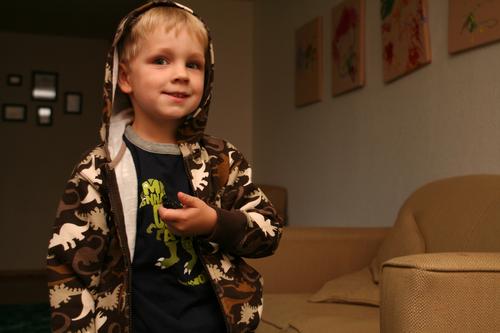
Wesley's Self Portrait
We left on time. I was very proud of myself for that. We made the 4 minute drive to his school.
After walking the 20 steps from the car to door – he said his arms were tired.
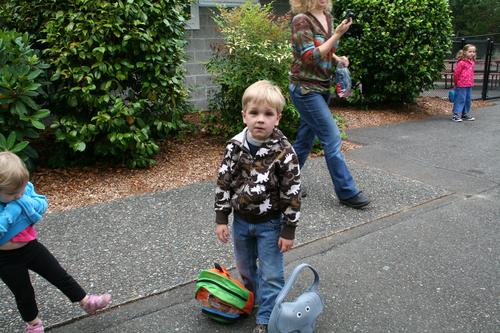
After the walk from the car.
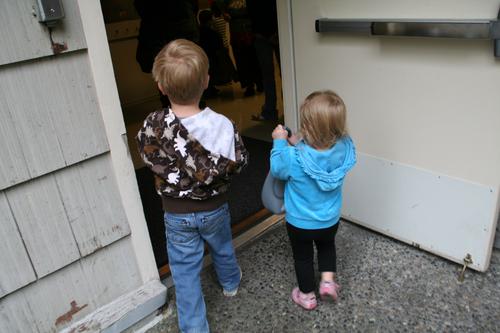
So Jillian helped him carry in his lunch.
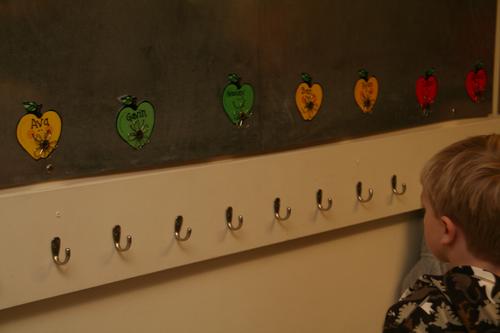
Looking for his hook.
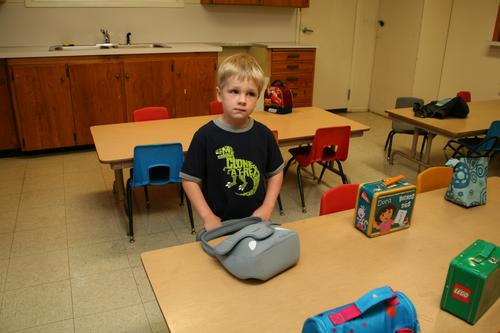
Putting his lunch on in the lunch room.
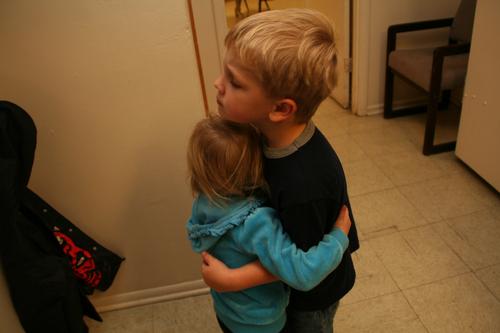
Big hug for Jillian!!!
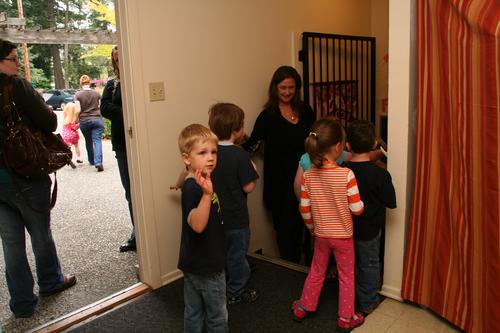
One last wave goodbye before he heads downstairs with his teacher.
Then it was off to the Frances Anderson Center for a gymnastic class.
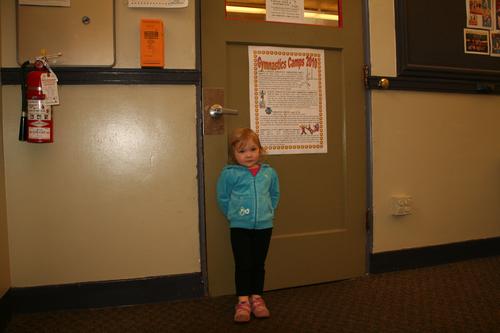
Waiting to start her gymnastics class.
She was very nervous in this class. But by the end she was doing everything without my help. After class I asked her if she wanted to go back…she is unsure. ![]()
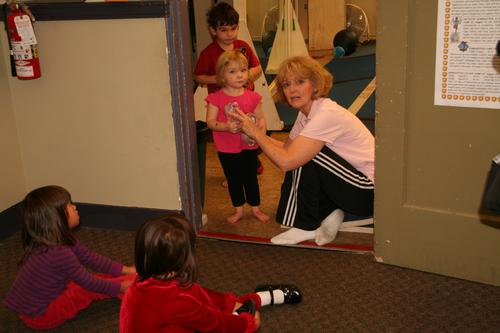
With Teacher Renee
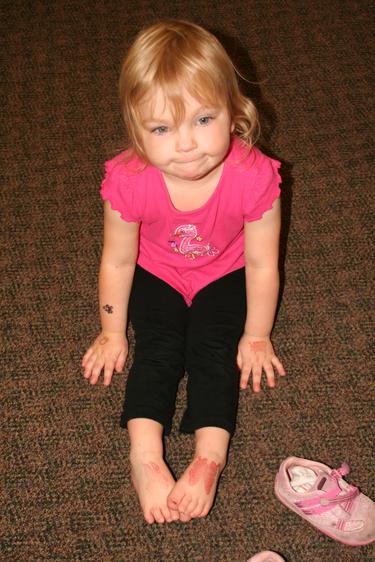
The cool stamps she got on her hands and her feet!
Then it was back to Wesley’s school to pick him up.
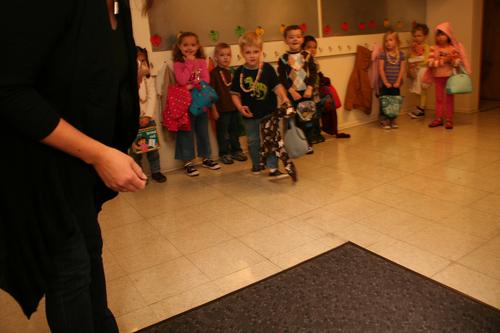
Ready for pick up!
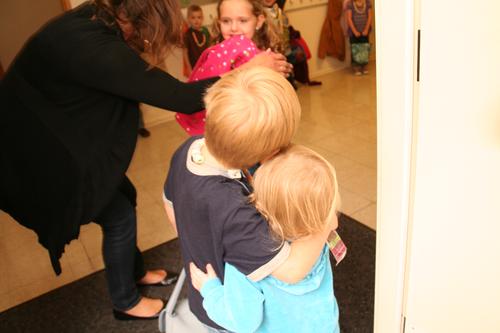
Jillian got the first hug.
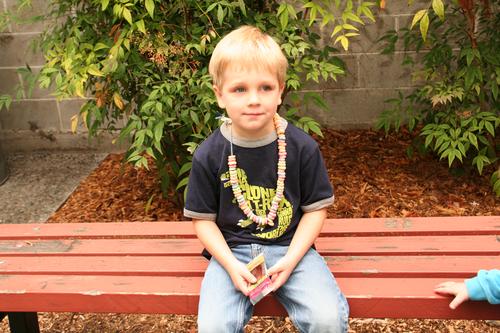
What a big kid!
Wesley had a great first day of preschool. In the car he told me: ” I learned to clean up. When we get home – make a mess and I’ll clean it up.” ![]()
He is very excited to go back tomorrow!
Tags: Gymnastics, Jillian, School, Wesley
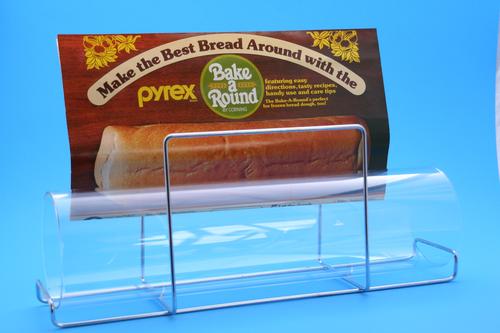
In the middle of June , I saw this post on TheKitchn.com which mentioned that they had seen a glass tube for sale on Etsy that was made to cook tube shaped loaves of bread. I thought it was pretty awesome frankly and showed it to Amber and mentioned “Hey, if you ever see one of these, pick it up for me”. The $27 one ($15 + $12 shipping) on Etsy had already sold. I figured it would be quite awhile before another one came our way. Well, just a couple of weeks later Amber, very excited I might add, told me she had a surprise. It was a Pyrex Bake-a-Round tube, in the box with the instructions. She found it at the thrift store for only a couple of dollars. I’m not sure it has ever been used. I’ve just been waiting for a stay-at-home weekend to try it out.
Apparently Corning made and sold these 20″ long tubes in the 1970′s. The date on my instruction sheet is June 1977. Most of the posts say they were really popular and everyone had one “back in the day”. But, since they only sold them for a few years, I’d guess they weren’t really that popular. It came with a full two year warranty, not that it will do me any good now.
The Bake-a-Round instruction sheet comes with a number of bread recipes (you can download a PDF of the instructions I created below). It seems like the key is to avoid recipes that are sugary because it will carmelize and stick to the glass, and frankly you’ll never be able to get it out of the tube. Instead of using an untried recipe I decided to make the white sandwich bread from Reinhart’s Crust and Crumb, because it is one of our favorites. And it has so much butter in it I figured it would slide right out.
I made a 1lb loaf and used the suggested waxpaper technique to load the dough into the tube. My instructions actually have a typo (2″ of wax paper). I looked at instructions from Neufie.com which made more sense (2′ of wax paper). It worked well, but between the buttered tube and the butter in the bread I probably could have simply slipped it in. I gave it a squish from both ends (again, per the instructions), capped the ends with plastic wrap and let it rise. The small 1lb loaf I used never filled the entire tube and in hindsight I could easily have gone with 1 1/2 lbs of dough.
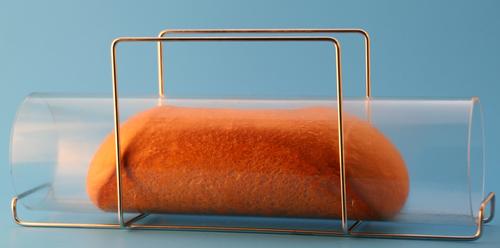
The finished cooked loaf still in the Bake-a-Round:
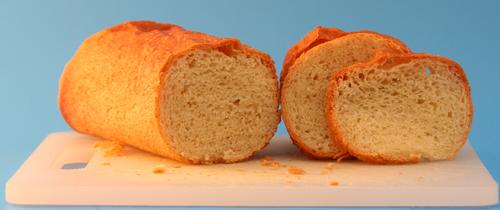
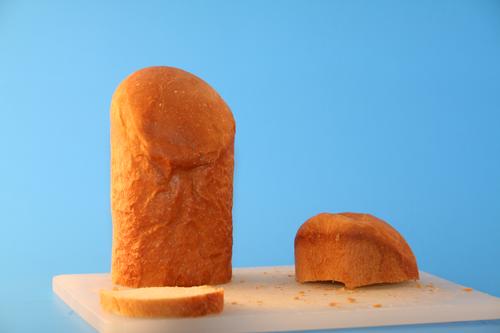
Getting it out was a little tricky. You have to maneuver the hot glass tube out of the hot metal holder and then tap the end of the tube with a potholder to get the bread to slide out. I did it though without any help or burned fingers. The bread had a nice even crust all around the loaf.
An unexpected side benefit is the phallic nature of the loaf. I hadn’t noticed, by my mom did!
Gallery with lots of photos including box, tube, bread and instructions.
Download a copy of my instructions as a PDF: Bake-a-Round Instructions (1723)
Tags: bake-a-round, bread

