I’ve long been fascinated by photo mosaics (using small images to create a larger image), so I was pretty excited when I ran across PyMos. PyMos is a Python module that makes mosaics using both your choice of image and choice of tiny images to build it with. Just install it as you would any other module (detailed instructions on the PyMos website).
I use this little script (generate_mosaic_Pymos (1254)) to set my configuration choices and actually generate the mosaic. It made it easy to play with the settings and try lots of different combinations, but you could run it from the command line if you chose. Settings:
- input_path: The path to the photo you want to recreate as a mosaic.
- output_path: The path to where you want to save your photo mosaic.
- collection_path: The path of a folder containing all your small photos.
- zoom: How much larger than the “input_path” photo do you want your output. A photo that is 1000 x 500 pixels would end up as a mosaic of 2000 x 1000 pixels if you chose a zoom of 2.
- thumb_size: How large do you want the small photos in the photo mosaic to be. The smaller the size the more “realistic” your overall mosaic will look, but the less detail you’ll get in each individual square. I find 75 works well for me.
- fuzz: The larger the fuzz, the more variation you’ll have in your mosaic. It lets the program pick a less perfect color match so that you don’t end up with swaths of identical photos in areas of the mosaic that are made up of one color.
- new_colormap: If you add or remove any photos in the “collection_path” you’ll need to set this to “True” so a new color map is generated. Otherwise it will fail if it tries to use a photo you’ve deleted or simply ignore any new photos that might be a better match.
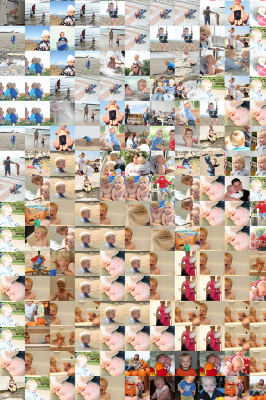
The question is, Where do you get all those little square photos? For me the answer is Flickr. When you upload a photo to Flickr they automatically generate a bunch of different sizes of your photo for you automatically. One of those is a 75x75pixel square thumbnail that they use as part of their navigation scheme, but you can download and use however you like. You could use PIL or some other method to create your own square images, but since all of our photos are tagged on Flickr I figured I could simply query our photos on Flickr for any tag or text I liked. I searched online for a client to download square photos matching a given tag, but couldn’t find anything pre-built. So I reused some of the code from my Flickr Metadata Downloader and wrote a script to download what I needed (flickr_download_squares (1100)). Just download and enter in your Flickr API info. For more details see the Flickr Metadata Downloader post.
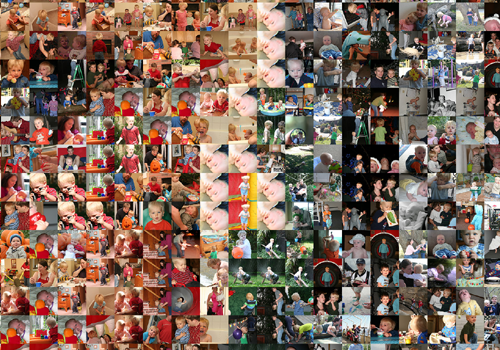
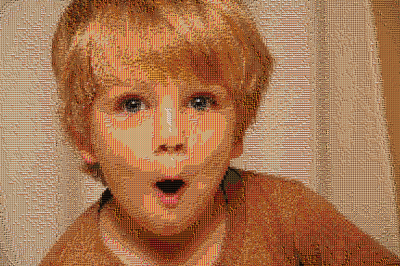
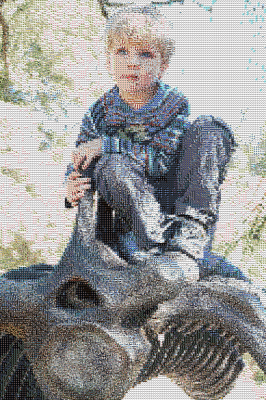
Since I started this near Wesley’s birthday he was my first choice of subject. A quick query on Flickr showed more than 18,000 photos tagged “wesley”. That is probably more than I really needed so I decided to grab only every 10th photo. Once they were downloaded which didn’t take as long as I’d thought because they are so small (each 75 pixel square photo is about 5KB) I reviewed them all to make sure you could really see Wesley and that none of them were too embarrassing and then set to work making the mosaic. I just ran he generate_mosaic_PyMos script I detailed above and after a few minutes got something like this:
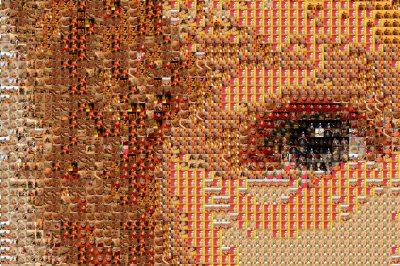
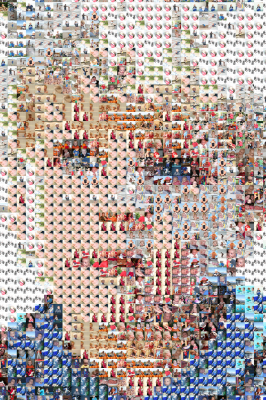
The image files that are created are rather large. In my practice they have been between 60mb and 120mb. Too big to be of much use except for making prints. Too big in fact to upload even to Flickr (they have a 20mb limit). I also learned that having variation in color and lighting is important. The more uniform your photo the fewer small photos will be combined to create it. This makes sense as each small photo is converted to an average color. Whichever photo has the closest average color for a given area will get used. If the area is the same color (like the wall above) the same photo is likely to be used over and over and over. To get more variation increase the “fuzz”, which I should have done with the mosaic above.
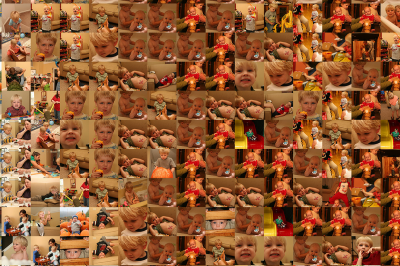
And another…
Tags: photography, Python, Wesley

Hi Joshua,
Thanks for an excellent writeup, much friendlier than the mini help we got. Added a link to this post in PyMos’ readme http://github.com/ideamonk/PyM.....ter/README
Abhishek
Glad you liked it. I really like PyMos and hope a few people might give it a try after reading my post.